
I found this to be a good program to start with if you're a beginner who knows jQuery but doesn't know how to utilize it. The key of this post is to show you that jQuery is a powerful library (made out of JavaScript) and you can do just about anything with it. If you want to view the code in action, here is the link.
Some of the audio I implemented inside of that program are different from the rest - did you notice? I only did that because of my hilarious, sick humor, so my baby sister says (not really). But it's true, because I didn't want to do something if it didn't please me. What fun is that? None at all. So, do whatever you want to your program, but make sure it still has it's kid-friendly kick to it.
Some of the audio I implemented inside of that program are different from the rest - did you notice? I only did that because of my hilarious, sick humor, so my baby sister says (not really). But it's true, because I didn't want to do something if it didn't please me. What fun is that? None at all. So, do whatever you want to your program, but make sure it still has it's kid-friendly kick to it.
Step 1. Using JSBin
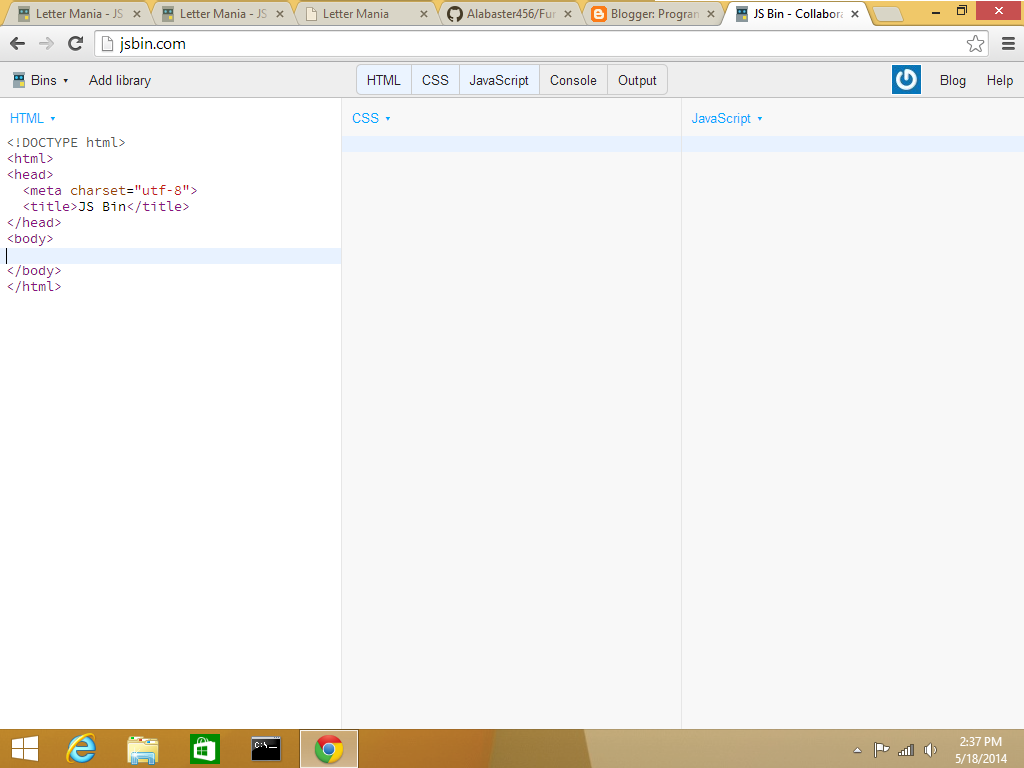
To begin, we're going to pull up JSBin. JSBin is a free website that allows you to program JavaScript, jQuery and HTML/CSS all together. If you look at the tabs above, you can see "HTML", "CSS", "JavaScript", "Console" and "Output". We honestly have no concern for the console tab, so close it if it appears to be highlighted on your page. The "Output", however, is going to be needed. If you click on it, you'll see a few options in the display menu saying "run JS" and a checkbox saying "Auto-run JS" - you can leave those settings alone. There should be an arrow though on the right-side of those two options, and it will open up your code in a HTML file. This is going to be useful because we're going to want to view our code for correct positioning (for the letters and such) and provide test-runs, so keep this in mind.
Step 2. Providing jQuery

We're using jQuery, so it's important that we provide the link for it. Luckily, JSBin has all this, so you can just click the "Add Library" button and select the "jQuery 2.1.0". It will automatically insert the jQuery link for you inside of your HTML file - what a breeze!
Step 3. Getting Started
First, let's provide an image for our little program. You want your background to be catchy and appealing to kids, not some boring plain white-background. Kids would be so displeased with you, trust me. So, find an image (Mine is already chosen)! Make sure you copy the url image link.

After you picked an image (and copied it's URL link! Important!) You're going to want to place it somewhere.. Luckily we have <img> tags! In our HTML file, we're going to want to create one and then close it with a self-closing backslash. After we do that, we're going to want to provide two attributes to the tag; the ID attribute (that allows us to do CSS code) and the source attribute. If the image I provided is too small to see, I'll demonstrate below:
<img id="background" src="whereourimagelinkgoes"/>
Remember, all of this goes in the HTML file. If you noticed in the picture above, I circled two code pieces. The one on the right is CSS and the one on the left (you guessed perfectly) is HTML. In the CSS file, I took the ID that is connected to the <img> tag and provided it with code. The code fills the entire HTML document with that background image you chose. Pretty cool, huh? I also included another property for that element (that's what all tags in HTML are called, by the way) which is called position. It allows you to lock an image to the page (using the "fixed" value) or move freely (using the "absolute" feature). I'm not the best teacher out there, so I'm only speaking from my own understanding. Your code should look like this in the CSS file:
#background {
width:100%;
height:100%;
top:0px;
left:0px;
position:fixed;
You can view to see if your code is working properly by clicking on the black arrow like I had mentioned in the "Output" button. Your image should cover the entire HTML document.
Step 4. Creating the letters

In the CSS file, give your letter "A" a color using the "color" attribute. After you do that, give your text a font, a size and a position set to "fixed". We don't need to move this letter, so it can remain in it's place.
Step 5. Second letter and the use of jQuery
Repeat the same method as last time (in step 4) for the second letter. But we're going to need to use the "margin" property in the CSS file this time to move your second letter from the first.

I created another <div> with a similar ID name to identify the letter and then embedded some CSS code.
The difference in the CSS file is the "margin" property, which I set to a hundred pixels. This allows it to avoid conflict between the two objects by separating them instead of being on each other. The second letter will rest aside on the right-hand side next to the first letter.
Here comes the jQuery part! We want our letters to expand when we hover over them. But when we leave from that letter, we want it to go back to it's regular size. The code "mouseenter" stands for when the mouse hovers over an object, while "mouseleave" stands for when the mouse leaves an object - kind of makes sense, doesn't it?
In the mouseenter function, I expanded the letter using the .css method. It's literally just another way to edit an element instead of doing it within the CSS file itself, making it easier for programmers to change how something looks and appears. Your outcome should look like this in your output, and moving your cursor across the letters should expand then go back to it's regular size when left:

Step 6. Getting Audio (soundfxcenter)
Now, finding audio for your games and stuff is really difficult. Really difficult. In fact, it took me nearly days to get good audio for those letters! But my determined self never gave up, so I landed upon Soundfxcenter.

It's a really good website that provides nearly every audio and sound effect for you. I definitely recommend that you get your audio from here. It lags kind of bit, but there aren't any pop-ups nor viruses on there. So don't be shy.
If you search up "Letter sounds", you should be able to find the exact same audio that I have. Try to find the "A" letter sound first, then "B", "C" and so on. But here comes the tricky part:
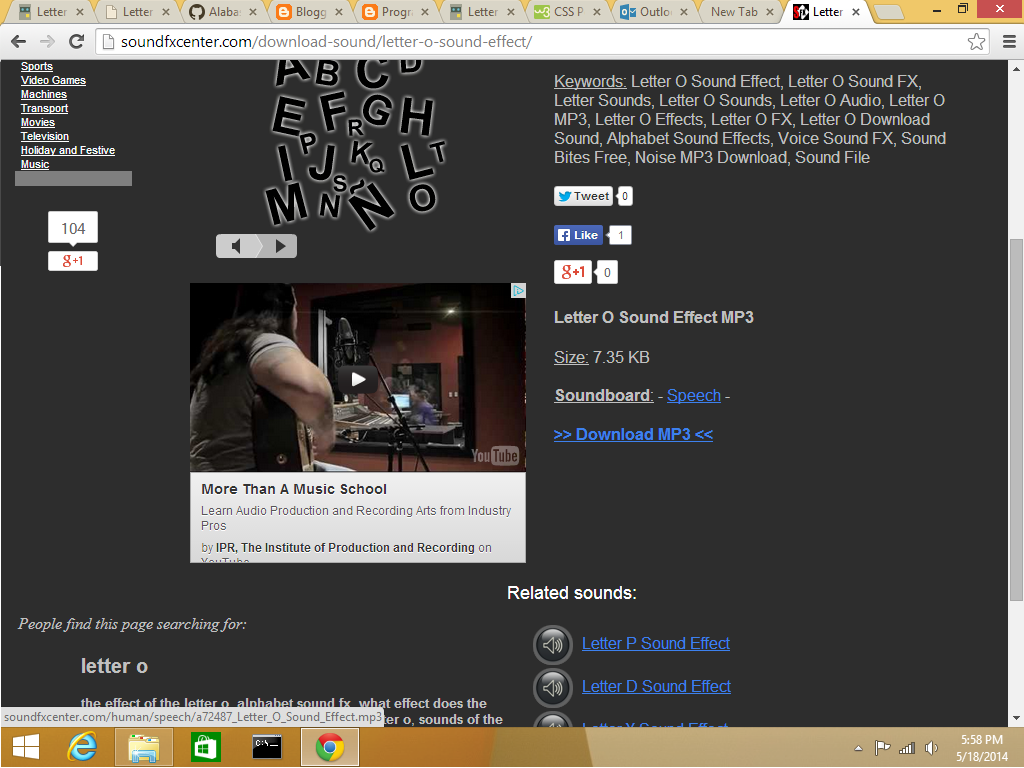
You don't want to download the actual file - you want to copy it's link location instead. So, to do this, left-click on the "Download MP3" link and drag it into your URL box at the top. The link should have ".mp3" at the end of it, indicating that it's an MP3 file. Copy the link and move onto the next step!
Step 7. Making Use of the Audio
Now that you got your audio link, let's put it to use.

This part of code involves the use of actual JavaScript this time, so if you know JavaScript and at least one DOM method, you're good to go.
- We created an variable called "letterA" and then turned it into an "Audio Object" by using the new keyword.
- After we did that, we put out link inside of quotations, closing off the piece of code with a semicolon.
- Then, we called upon that Object, using the method .play() to activate the sound we provided.
Now you have your sound working! High five-- I mean, air five! Feel free to test it out in the "Output" section. But just to note, if the sound doesn't work right away, give it time. Loading your code is a lot of work for your HTML document.
Step 8. Repeat, Repeat, Repeat. You're On Your Own

Create another <div> tag with a letter inside of it, give it an ID, utilize some CSS code, margin it (to the correct spot aside the other letters) and then use the same jQuery code demonstrated in Step 5. Basically, repeat yourself. Your code should look very similar to mine after a while, except the fact that I used the <span> tags for no reason in my code..
Once you're done with your program, please submit it for viewing in the comment section! I'd love to see your creativity, work and skills. Thanks for reading this and I hope you learned a great deal from it. :)
- Yazid
Decent first post, Yazid. I found the tutorial to be well written, informative and fun. Nicely done, broman. I am definitely looking forward to reading your other posts. (:
ReplyDelete